 A common requirement for powering a microcontroller based circuit is to regulate voltage to a steady level, protecting the sensitive equipment from fluctuations in power.
One of the simplest devices that can be used to achieve this result is a voltage regulator, such as the Sipex SPX1117U shown to the right.
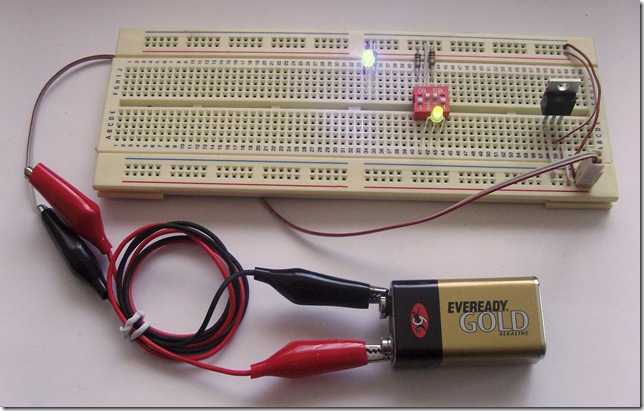
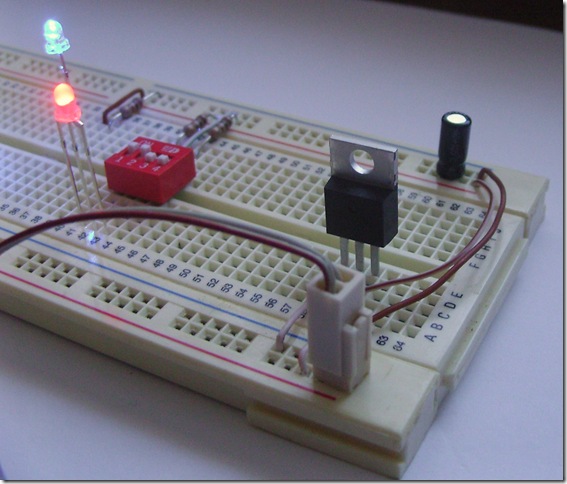
Using the SPX1117U (the 3.3 volt variant of the SPX1117 range), I have hooked up a small circuit on the breadboard to demonstrate the process. The circuit below consists of the following components:
- 9V Battery
- Gator clip wires
- Home made power jack - two strips from a ribbon cable crimped onto a two pin socket
- Assorted jumper wires - mainly borrowed from a spare bit of CAT5 cable
- An SPX1117U voltage regulator
- Three 100 ohm resistors (Brown, Black, Brown)
- A bright blue LED
- A dull three colour LED
- A DIP switch block used to control the colour of to the three colour LED
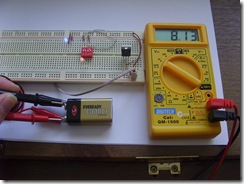
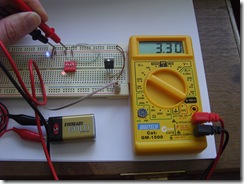
| You can see the voltage output from the 9 volt battery, 8.13 volts: | And the voltage being sourced from the SIPEX SPX1117U voltage regulator, a perfect 3.3 volts: |
|
|
|
|
The resistors are required here to protect two components: the LEDs which have a maximum current of around 30 milliamps and the voltage regulator itself which can supply a maximum current of 800 milliamps. The brightness of the LEDs will be determined by several factors to do with the quality of the material they were constructed with and the amount of current passing through them. The current flowing through the LEDs is limited by two 100 ohm resistors protecting each LED. The choice of 100 ohm resistors was somewhat arbitrary, being enough to ensure a small current is supplied so that the LEDs will light up brightly without overburdening the voltage regulator or burning out the LEDs.
Improving the Stability The circuit above is fine for LEDs, but if you want to power something which requires a steadier voltage you'll need some additional components. According to the SPX1117U documentation, an output capacitor with a minimum value of 2.2uF but recommended 100uF will make the output stable.
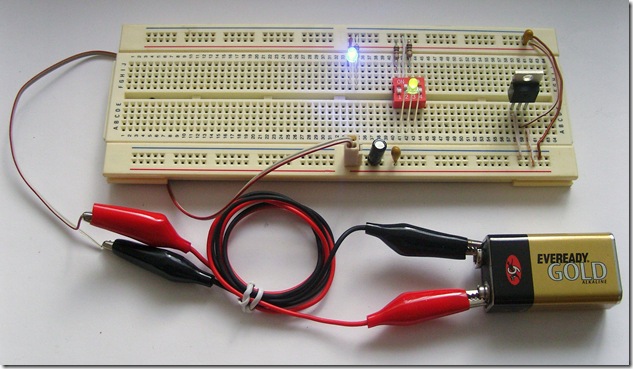
In order to increase the output voltage stability, I've added a 100uF aluminium capacitor to the circuit. It is placed across the 3.3 volt output power rail:
In simplified circuit diagram form, this is the above circuit, including the stabilizing capacitor:
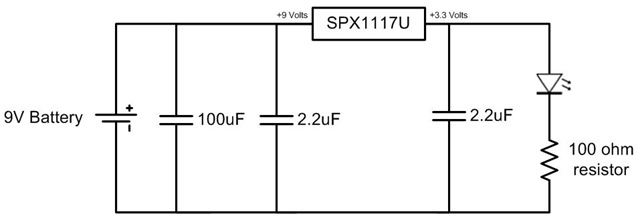
The use of capacitors as filtering and decoupling agents is especially important when one power source will be used for both sensitive components like microcontrollers and for rough components like motors. In the circuit above the capacitor is purely used for stabilizing the power output from the voltage regulator, however a more robust design to protect a sensitive circuit could be implemented like this:
 |   |
Because of the different electrical characteristics and capacities that different materials allow for, a 100uF aluminium capacitor is used here as a filter and two 2.2uF tantalum capacitors for decoupling.
The circuit can be simplified into the diagram below:
This power supply circuitry can provide a stable platform for a simple robot, allowing the microcontroller to enjoy a steady voltage level whilst the other components of the robot introduce spikes and drains on the supply as they grind their way across the deserts of Mars or are picked up and hurled by a toddler.
Note: Thanks to the kind people on Electro Tech Online forums for helping me understand the issues surrounding LED current calculations, which I’ll cover further in a later post.

1 comment:
this article inspire me to write an article about how to choose the right battery for a robotic project. the article could be found here http://www.intorobotics.com/guide-to-choose-suitable-battery-to-build-a-robot/
Post a Comment